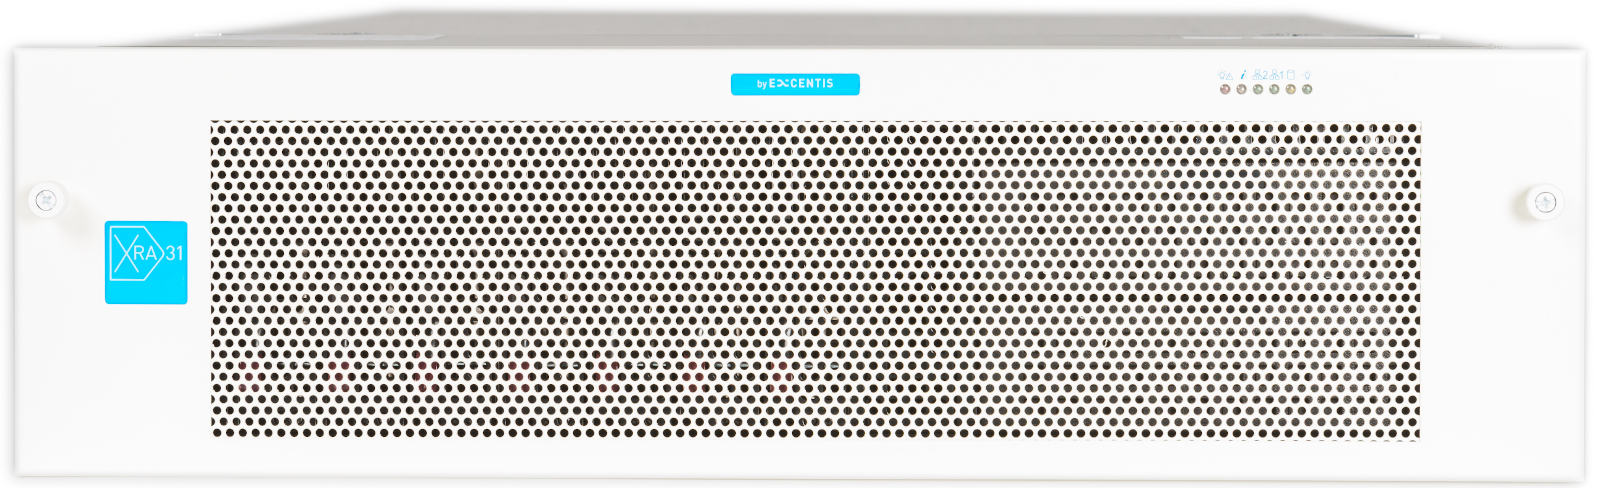
Thank you for buying an XRA-31!
Let's get you up and running in no time
Start unboxing!
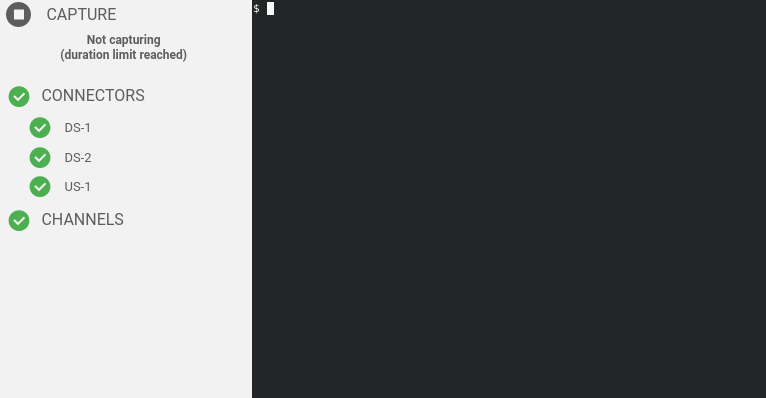
Start capturing!
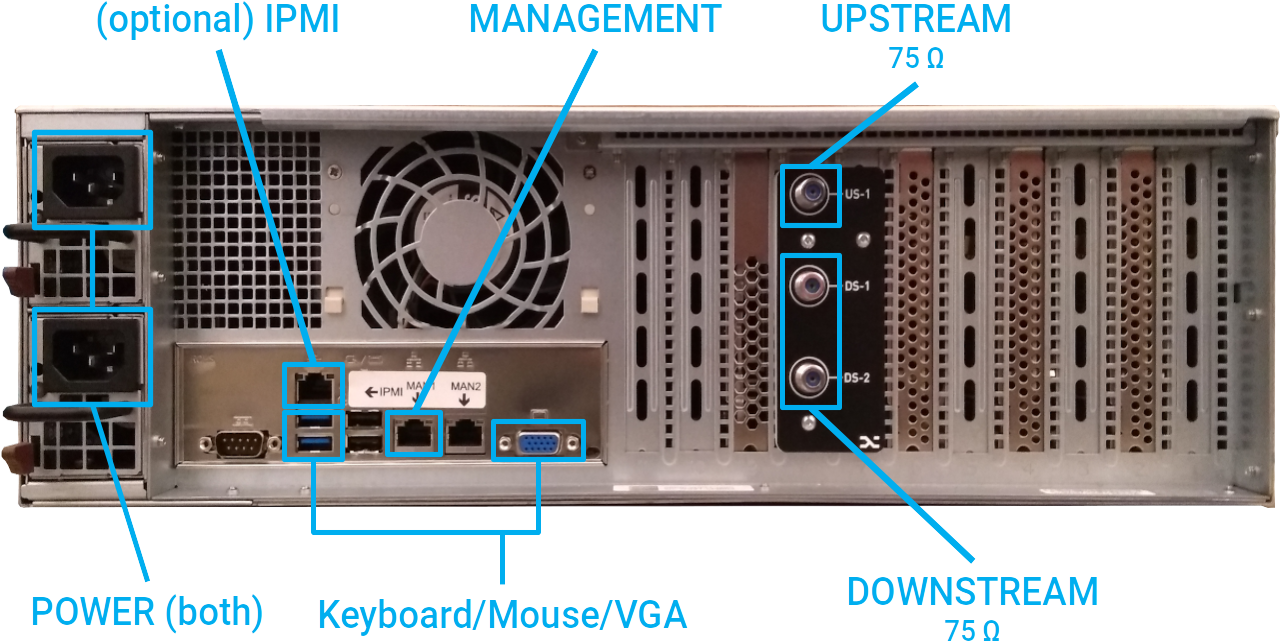
Let's get wired up
The server mounting rails consist of separate outer and inner rails. Follow these steps to rackmount your system
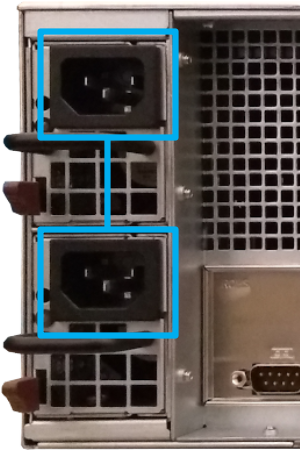
Connect the system with the included power cables.
Supported power ratings:
100 - 240V AC auto-range
50 to 60 Hz

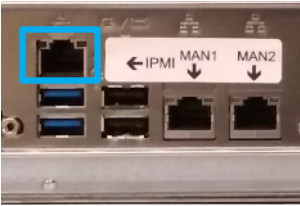
Connect the management interface to your network to control the XRA-31 remotely through its web-based GUI or API.
Optionally, connect the IPMI Baseboard Management Controller (BMC) interface for remote server management.
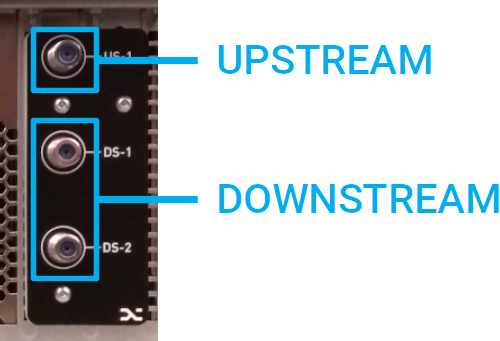
Connect downstream and upstream ports (75 Ω) to your RF testing network.
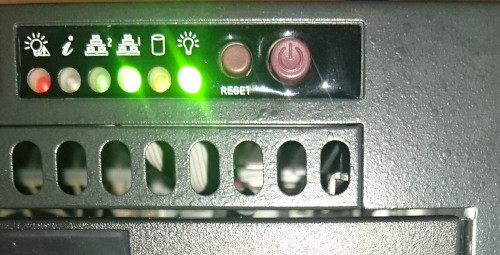
Press the button behind the front panel to boot the system.
Now you are ready to start capturing traffic. You can control the XRA-31 with its web UI or start scripting in Python thanks to our API.

Powerful automation via Python API or CLI commands.
Installation is as easy as running
pip3 install excentis-xra31.
Analysis of the pcap captures can be done using Wireshark® or TShark.
Download Wireshark
A special XRA header is prepended to all packets and encapsulates several physical layer (e.g. MER) and MAC layer (e.g. SID, IUC) parameters relevant to the packet.
Read more
Wish more info?
contact us at